
AI Clothes Changer
Upload a person photo and a garment photo to preview one outfit. Compare the result with the original.
One person, with the area to change in view.
One item, laid flat or photographed from the front.
6 credits per image
JPG, PNG or WebP, up to 20 MB each. Photos are compressed in your browser and sent to Kie when you generate. Use photos you have permission to share.
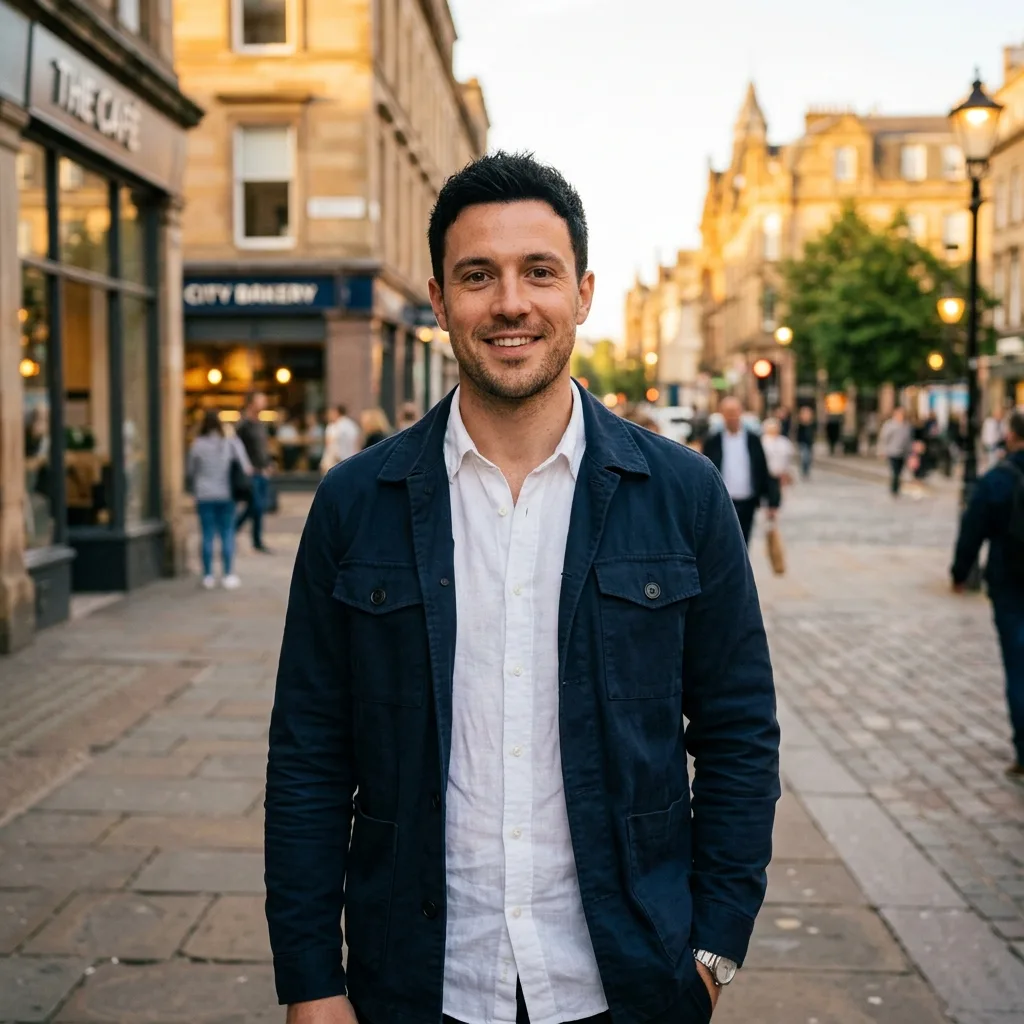
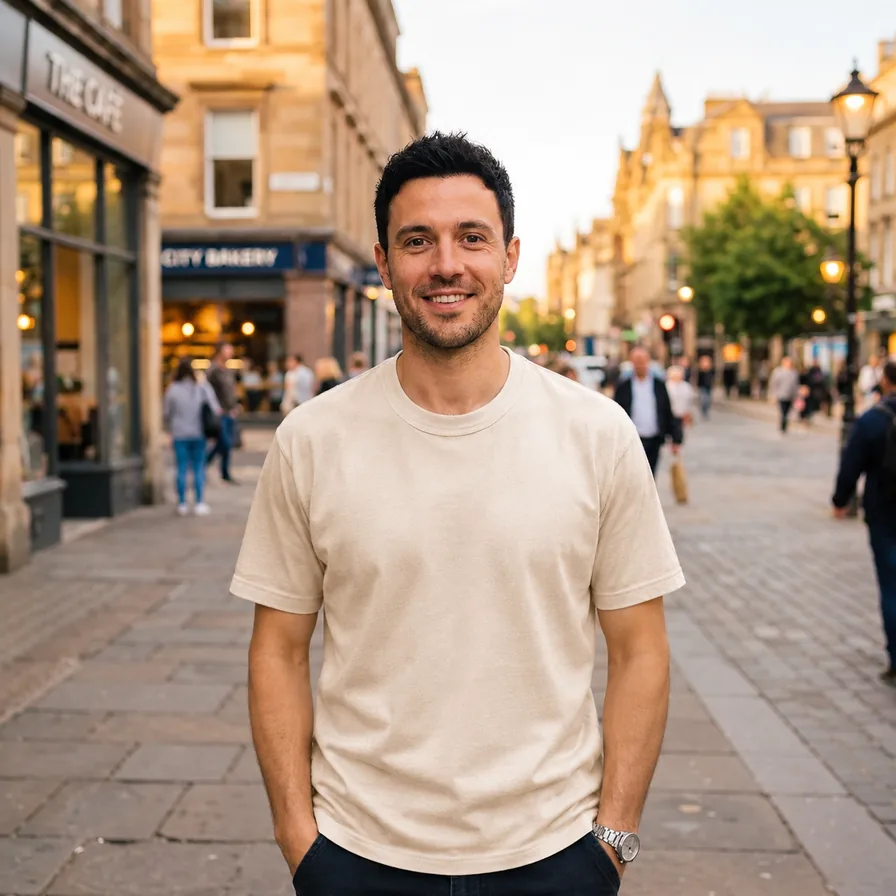
Virtual Try-On Example
How to use the AI Clothes Changer
Choose a photo that shows where the garment will sit
For a top, start with a waist-up photo that includes both shoulders and the ends of the sleeves. For trousers, include the waist through the shoes. Use a full-body frame for a dress or a long coat so you can review the hem. If the original cuts off a sleeve or a leg, the crop will still limit what you can judge in the preview. A front or slight three-quarter view makes it easier to compare the outfit against the source photo. If you plan to preview multiple pieces individually over time, keep the original camera angle and crop so you can tell which visual differences come from the garment itself.
If you care about sleeve length, keep both wrists in frame and leave a little space around the arms. A handbag, crossed arm or long hair can hide part of the garment, which leaves the model to infer what goes underneath. For a catalog preview of a jacket, try a photo with the arms relaxed and the hair moved away from the lapels. For a styling preview of the same jacket with a shoulder bag, keep the bag in place and inspect the strap in the result. Watch areas where the original clothes overlap the background, especially light sleeves against a light wall. A cleaner edge makes it easier to spot accidental changes.
Use one clear reference for the AI Outfit Changer
Pick a straight-on product photo or flat lay that shows only the piece you want to try. A photo containing a shirt, trousers and a jacket gives the model several possible references. Crop out other garments or product thumbnails before uploading. Keep the full outline, including the cuffs, neckline and hem. When a product gallery includes several views, upload the one that shows the details visible in your person photo. If the brand shows different colors on the same page, make sure the exact colorway is visible in the picture you save. Some product galleries show a shared thumbnail after you switch colors.
For a solid-color piece, choose a product photo with even light. Warm lighting can make white look cream, while a strong shadow can make one side of a navy jacket read almost black. For a striped shirt, keep enough surrounding fabric to show the direction and spacing of the stripes. For a printed tee, use a source where you can already read every character at normal zoom. A tiny label in a screenshot may lose detail when the browser resizes it. If you have both a product photo and a close-up, use the full product photo as the upload and keep the close-up to check the generated details afterward.
Compare the original and the Virtual Try-On
Generate one preview and use the before-and-after panels to check the face, pose, background and pieces you wanted to keep. Compare the shoulders and sleeve ends first, since changes in the body outline are easy to miss when focusing on the color. Then look at hands, hair and accessories around the new clothing. Where a hand should sit in front of a sleeve, check that the outline of each finger is still visible. Use the edges of a doorway, furniture or other fixed objects in the original to spot background changes. These details help you decide whether the image is good enough for a mood board or needs a clearer source.
For an oversized hoodie, see whether the dropped shoulder, extra sleeve width and loose hem still look like the product. Check lettering separately from overall pattern placement. Letters can change even when the print looks right at a glance. Keep an original product photo alongside the preview if you are showing a customer a specific logo, shade or detail. If the preview changes several unrelated details at once, replace the person photo with a cleaner shot before spending credits on another attempt. Save the PNG if you want to refer back to this particular result.
How your photos and results are handled
The selected photos are previewed locally while you prepare the request. Your browser resizes and re-encodes them as JPEGs, which removes original metadata such as camera and GPS tags. On generation, ArtImgAI sends those copies to Kie as temporary inputs. Kie’s file upload documentation specifies deletion of uploaded files after 24 hours. Use photos you own or are authorized to send for processing. Crop out other people or private information before uploading if they are incidental to the look you are testing.
ArtImgAI records the task status, credit transaction and a temporary result link. This tool serves the result to the signed-in account that created it. The output is hosted by the provider and is available for a limited time. Download the PNG to retain a copy. If you reload this tab, the tool can recover the recent task, and the original photo preview must be selected again.
Privacy PolicyVirtual try-on questions
Can an AI clothes changer tell me what size to buy?
Use the image to assess the styling. To choose a size, compare a garment you already own against the seller’s flat measurements or measure yourself using the seller’s instructions. A generated image cannot determine ease at the bust, stretch at the waist or how the fabric feels when you move. When you fall between sizes, check how the seller measures a similar garment and whether the fabric has any stretch.
How do I check an outfit with a logo or printed text?
Open the result at full size and compare the spelling, orientation and placement with the product photo. Look at curved areas like sleeves or seams, where an originally straight logo can warp. If the design must be exact for a product listing, use the original product image for those details.
Will one reference work for a layered outfit?
Use one garment per preview. For an open jacket, choose a person photo with the layer you want to show underneath already visible. A reference that includes two overlapping products leaves their boundary ambiguous, so make separate previews when you want to compare two items.
Why does the same color look different in the preview?
The edit places the garment in the person photo’s lighting, so fabric can look warmer indoors or cooler outdoors. On dark garments, compare details that catch the light, such as seams, edges and folds. If you are deciding between two similar colors, compare the seller’s swatches under the same light and use the try-on to judge how each one works with the rest of the outfit.
What happens to credits when I retry?
Checking an existing task or resending an interrupted request uses the same task and adds no charge. A confirmed generation failure returns the original debit. Starting another preview creates a new task at the displayed price, even when you reuse the same photos.
Can I recover the try-on after reloading?
In the same tab and account, a reload can reopen the recent task or result while it is available. The browser keeps the selected input photos only while the page is open, so reselect them to generate again or use the downloaded PNG if you want to keep the result.